先看一下效果:

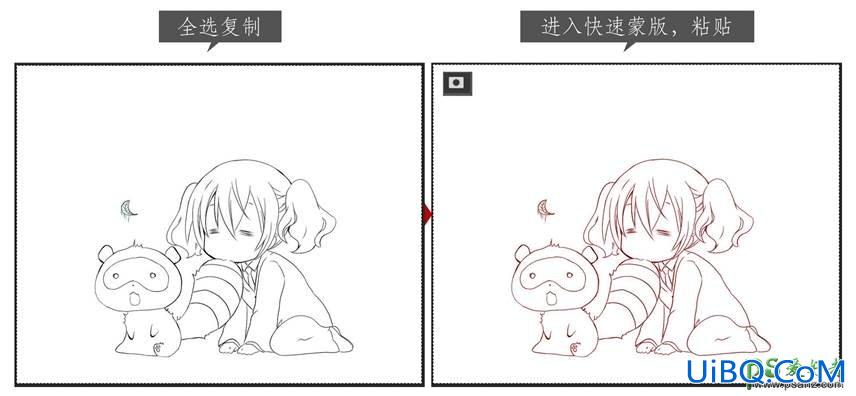
打开下面素材后,按CTRL+A,再CTRL+C复制图层,然后添加图层蒙版。

按住ALT键点击白色的蒙版,进入蒙版编辑状态,然后再CTRL+V,把刚才我们复制的图层粘贴到图层蒙版中,现在可以看到,图层蒙版中有了一个和图层一样的图层。

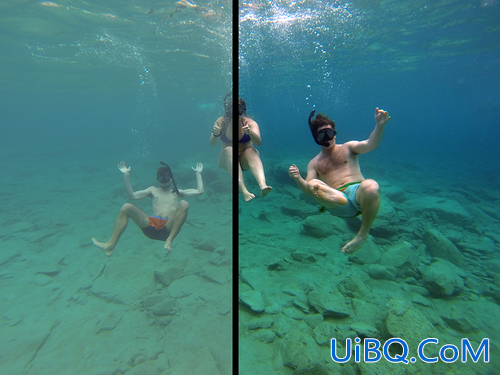
在图层1副本拉一个冷色的色彩渐变,如下图。

用钢笔工具把矿泉水瓶抠出来,建立选区方向,在蒙版周围填充黑色,在用钢笔工具把不透明的包装级和瓶盖抠出来,建立选区,在蒙版里填充白色。

如果你觉得透明度不够,可以再复制一层并调整透明度来微调,再背景图层上方画上投影,完成!

效果如下:


 加载中,请稍侯......
精彩评论