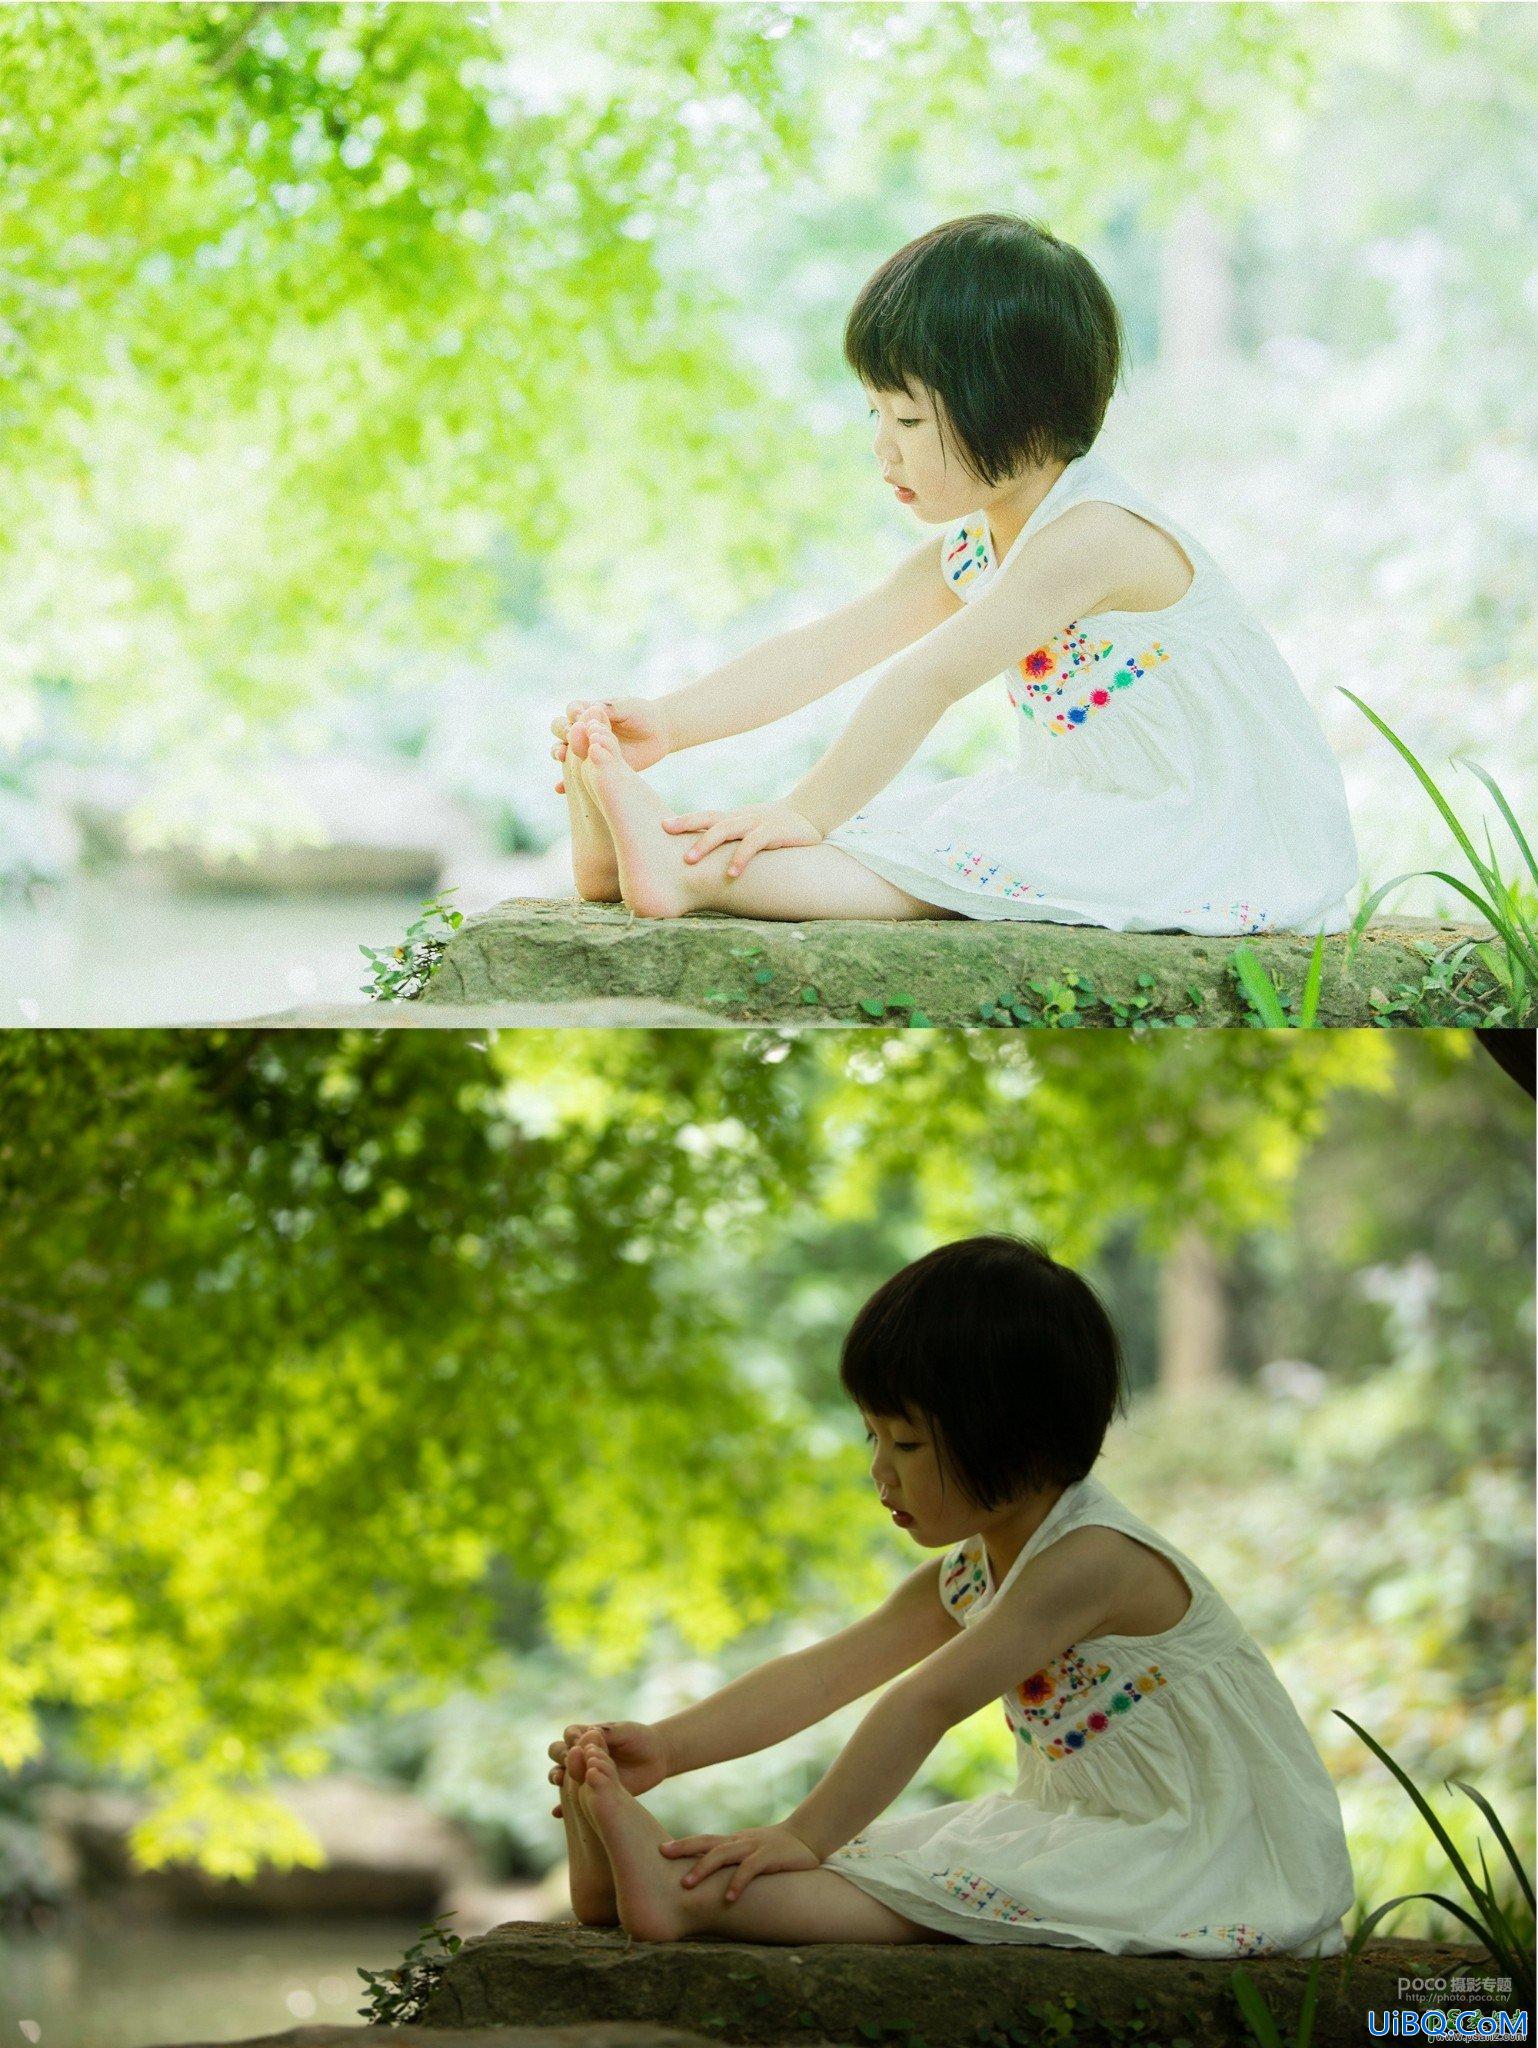
Photoshop图层样式调色让照片变废为宝平时我们用数码相机拍回来的照片,不一定全部是很好的,删掉又很可惜。现在有了photoshop,经过一些特效处理,可以将我们的照片变废为宝。 大家可以看看下面的对比,上面是原来拍的,感觉平平。下面是处理后的,是不是多了一些艺术感。


2、选择背景副本,选择菜单“图像---调整---去色”,接着设置亮度对比度,参数如图。


3、选择背景副本2,然后选择“图像--调整--照片滤镜”(注:cs以上版本才有的功能,其他版本可以用其他调色工具完成),选择黄色,然后把浓度调到100,效果如图。

4、关键时刻来了,我们选中背景副本,把图层模式改为亮度。
5 然后,我们再次选中背景副本2,把他的图层模式改为叠加,效果如图。


6、选中背景副本,用魔术棒选空白处,效果如图。
7、保持选取,在---选择----羽化选取,羽化设置为10象素,如图。

8、在图层--新填充图层---渐变,操作如图。

9、渐变填充的设置如图所示范。
到这里,效果就基本完成了。大家可以再加些边框,写上些字,一幅充满古城特色的照片就完成了。
大家在做的过程中,参数设置不一定非要和我的设置相同,只要做出你喜欢的效果就可以了。
还等什么,快去拿出你的照片试一试吧!


 加载中,请稍侯......
精彩评论