作者:小白白 出处:
做水墨效果,最主要的是做出水墨的纹理效果,所以本教程先给整体调色,然后再用滤镜或素材合成等手段把水墨纹理效果做出来.
作者:小白白 出处:

做水墨效果,最主要的是做出水墨的纹理效果,所以本教程先给整体调色,然后再用滤镜或素材合成等手段把水墨纹理效果做出来.
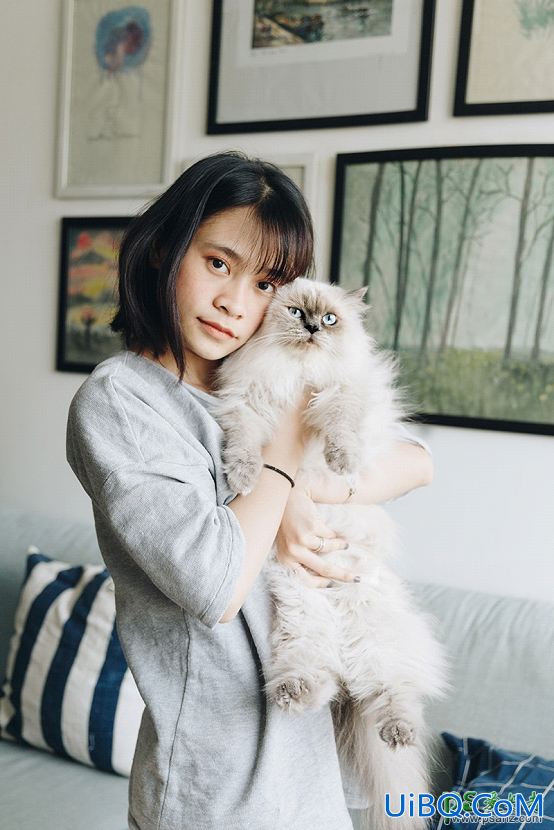
原图

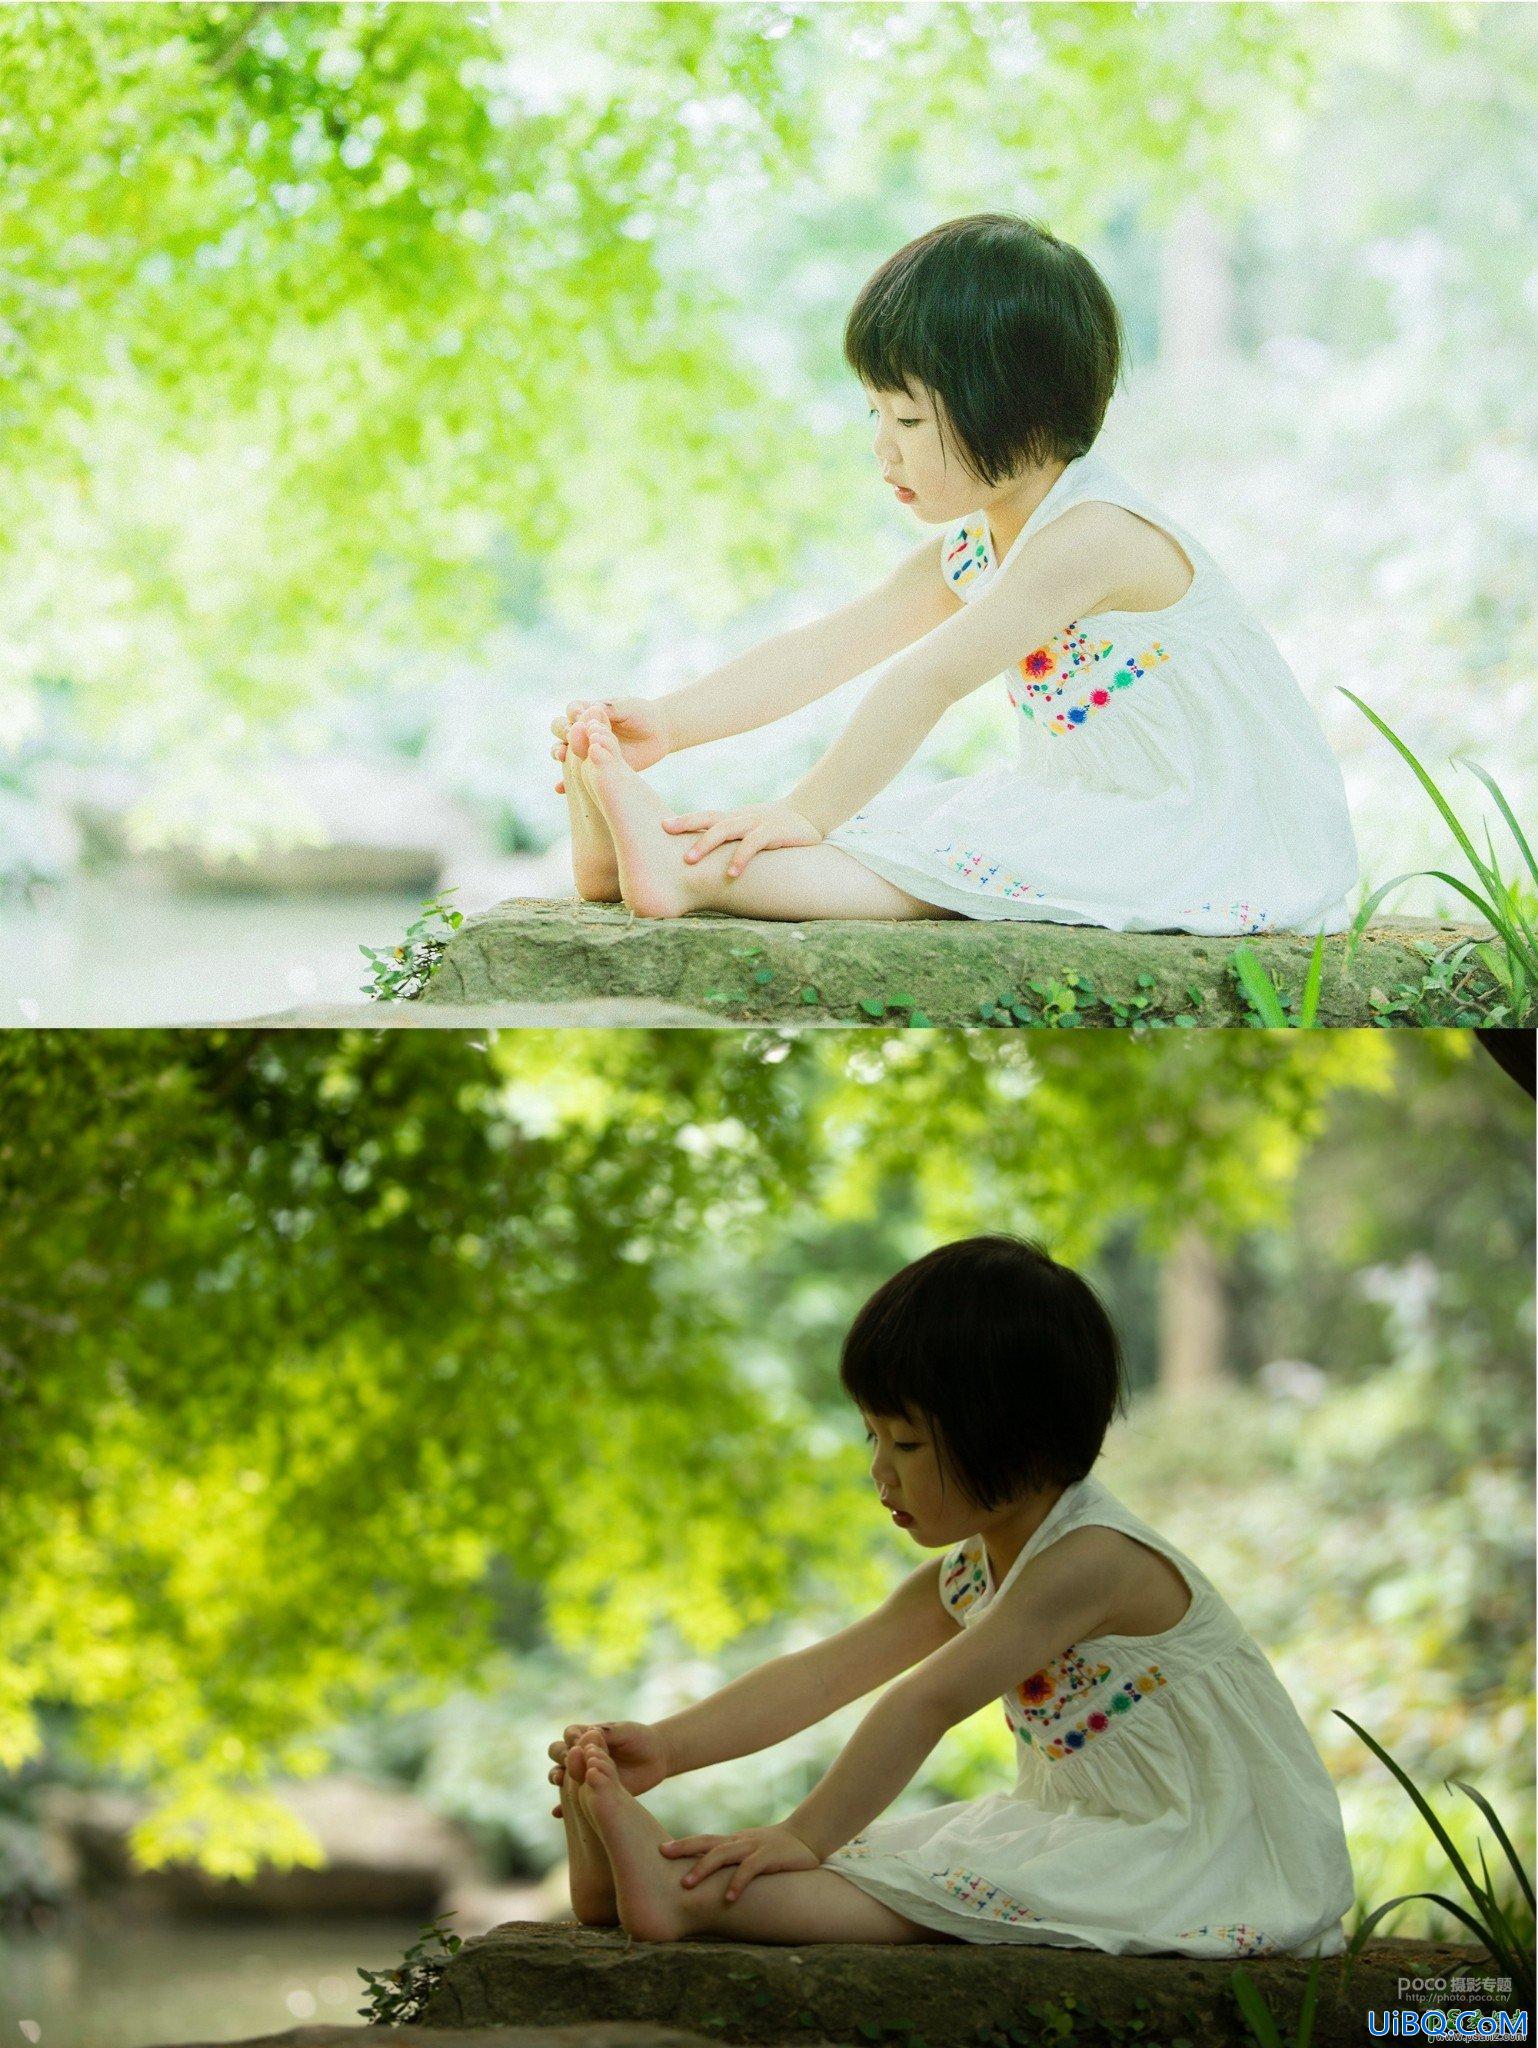
最终效果

1、 打开原始素材,用曲线把整体画面调亮.

<图1>
2、调色阶,数值如下图。

<图2>
3、新增可选颜色调整层,对白色进行调整,数值如下。

<图3>
4、盖印图层(Ctrl + Alt + Shift + E )。对新得的盖印层执行:滤镜-模糊-高斯模糊,数值为5左右,再把图层设为“柔光”,效果如下。

<图4>
5、新建一个通道混合器调整图层,调整绿色通道,数值如下。

<图5>
6、再盖印图层。然后对新得的图层执行:滤镜 - 其它 - 高反差保留,数值为5,然后把图层混合模式改为“叠加”。

<图6>
7、调整色彩平衡,对阴影和高光进行调整,数值如下,

<图7>

<图8>
效果如图下:

<图9>
8、再调通道混合器,对蓝色通道进行调整,数值如下。

<图10>
9、再做一个盖印层。对新得图层执行:滤镜 - 画笔描边 - 烟灰墨,数值默认。确定后添加图层蒙版,用黑色画笔把人物部分擦出来,如下图。

<图11>
最终效果:


 加载中,请稍侯......
精彩评论