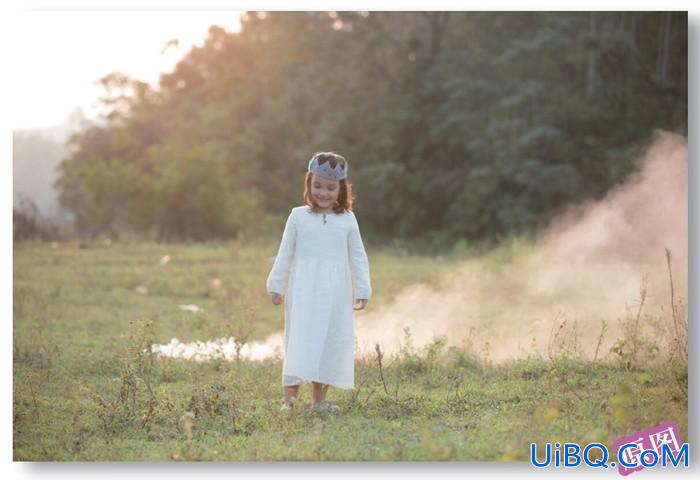
图像----调整----色相/饱和度 图像----调整----色彩平行 回复一下在看吧 谢谢 以下内容需要回复才能看到 得到的效果 第三步:加入烟雾效果 大家可以下载"烟雾笔刷" 效果如下 第四步 1.把人细节涂抹一下,不要过重. 2.在用"加深工具"把周边的色彩加深一点. 最终效果图


 加载中,请稍侯......
精彩评论