
近日,老夫在深山内收到一封匿名的竹简烤乳鸽。信内日:近期时尚界风云作乱。经老夫观察,算是理出了些许头绪。今日这本武功秘籍,大爷姑娘,您请收下。


教程所用素材:16xx8.com
第一步:抠图,使用钢笔工具将需要换装的部分抠出来,注意细节部分要注意线条的流畅。

第二步:处理光影效果,将抠图部分变换成选区,并复制多一个图层后去色,再利用曲线、色阶工具处理光影效果更突出。

第三步:叠加花布素材,叠加花布后混合模式选叠加,要注意观察原图的光亮部分,图中红为亮,绿为暗。使用画笔或者加深减淡工具处理好细节。

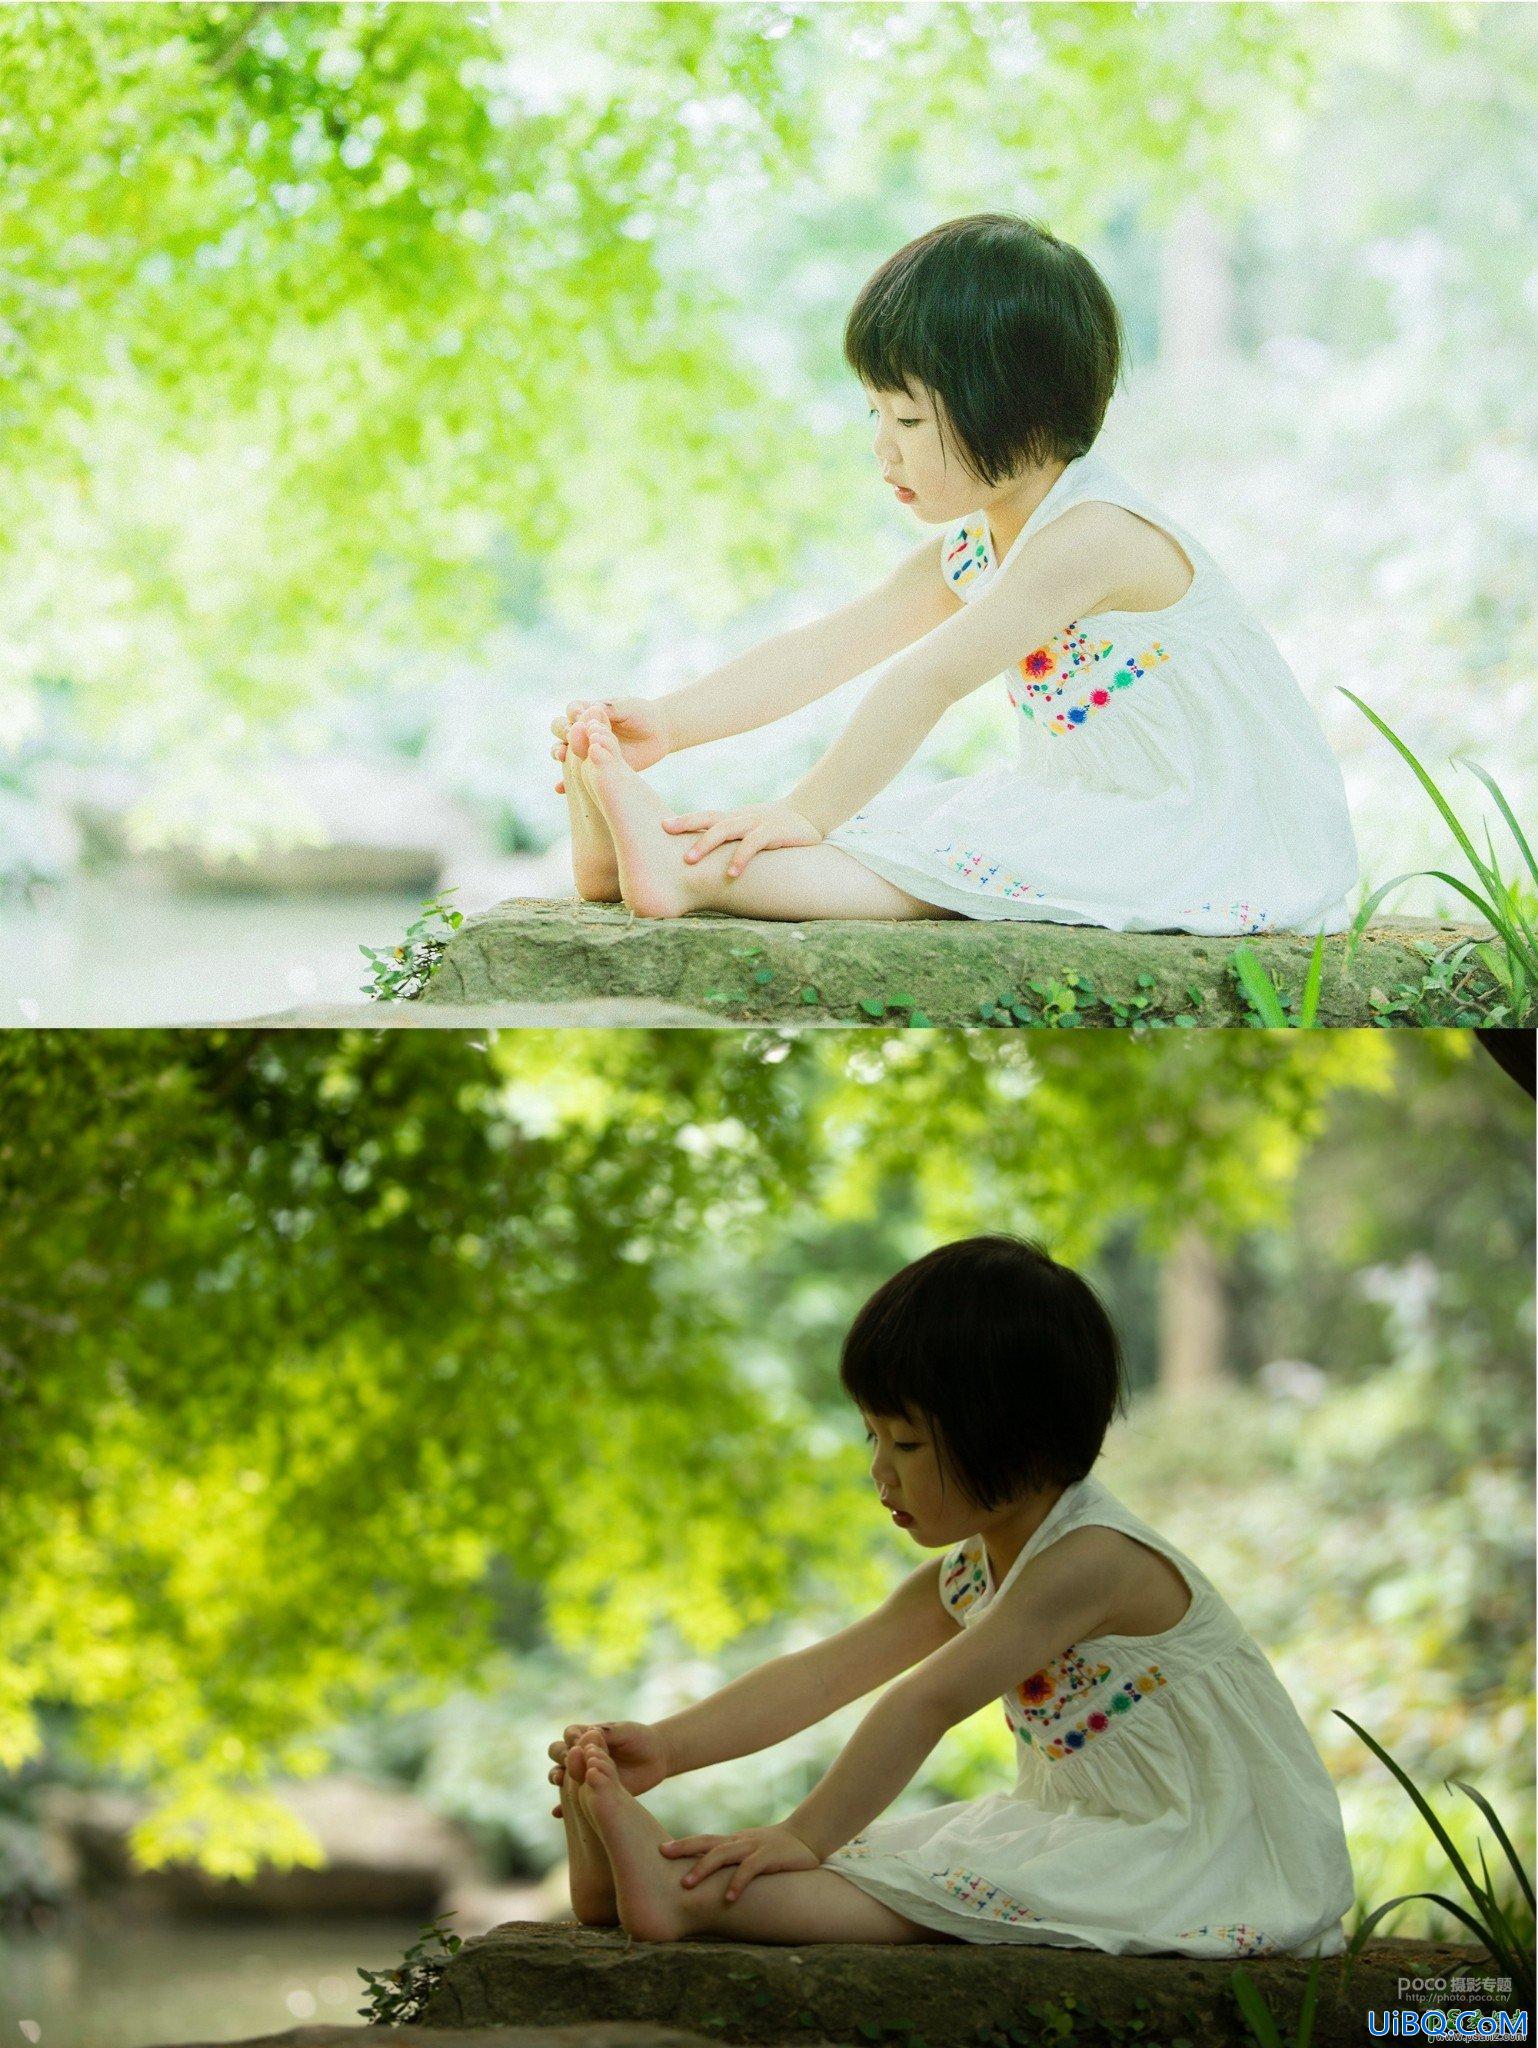
第四步:最终成品优化

成品啦,是不是感觉很帅?

教程中很多步骤我都省略了,我本身就话多且密,害怕各位看官骂我,总结一句话:感觉原作者的创意设计,感谢ps cc。
作者:@東東東東東方熊


 加载中,请稍侯......
精彩评论