@卡乐筠:
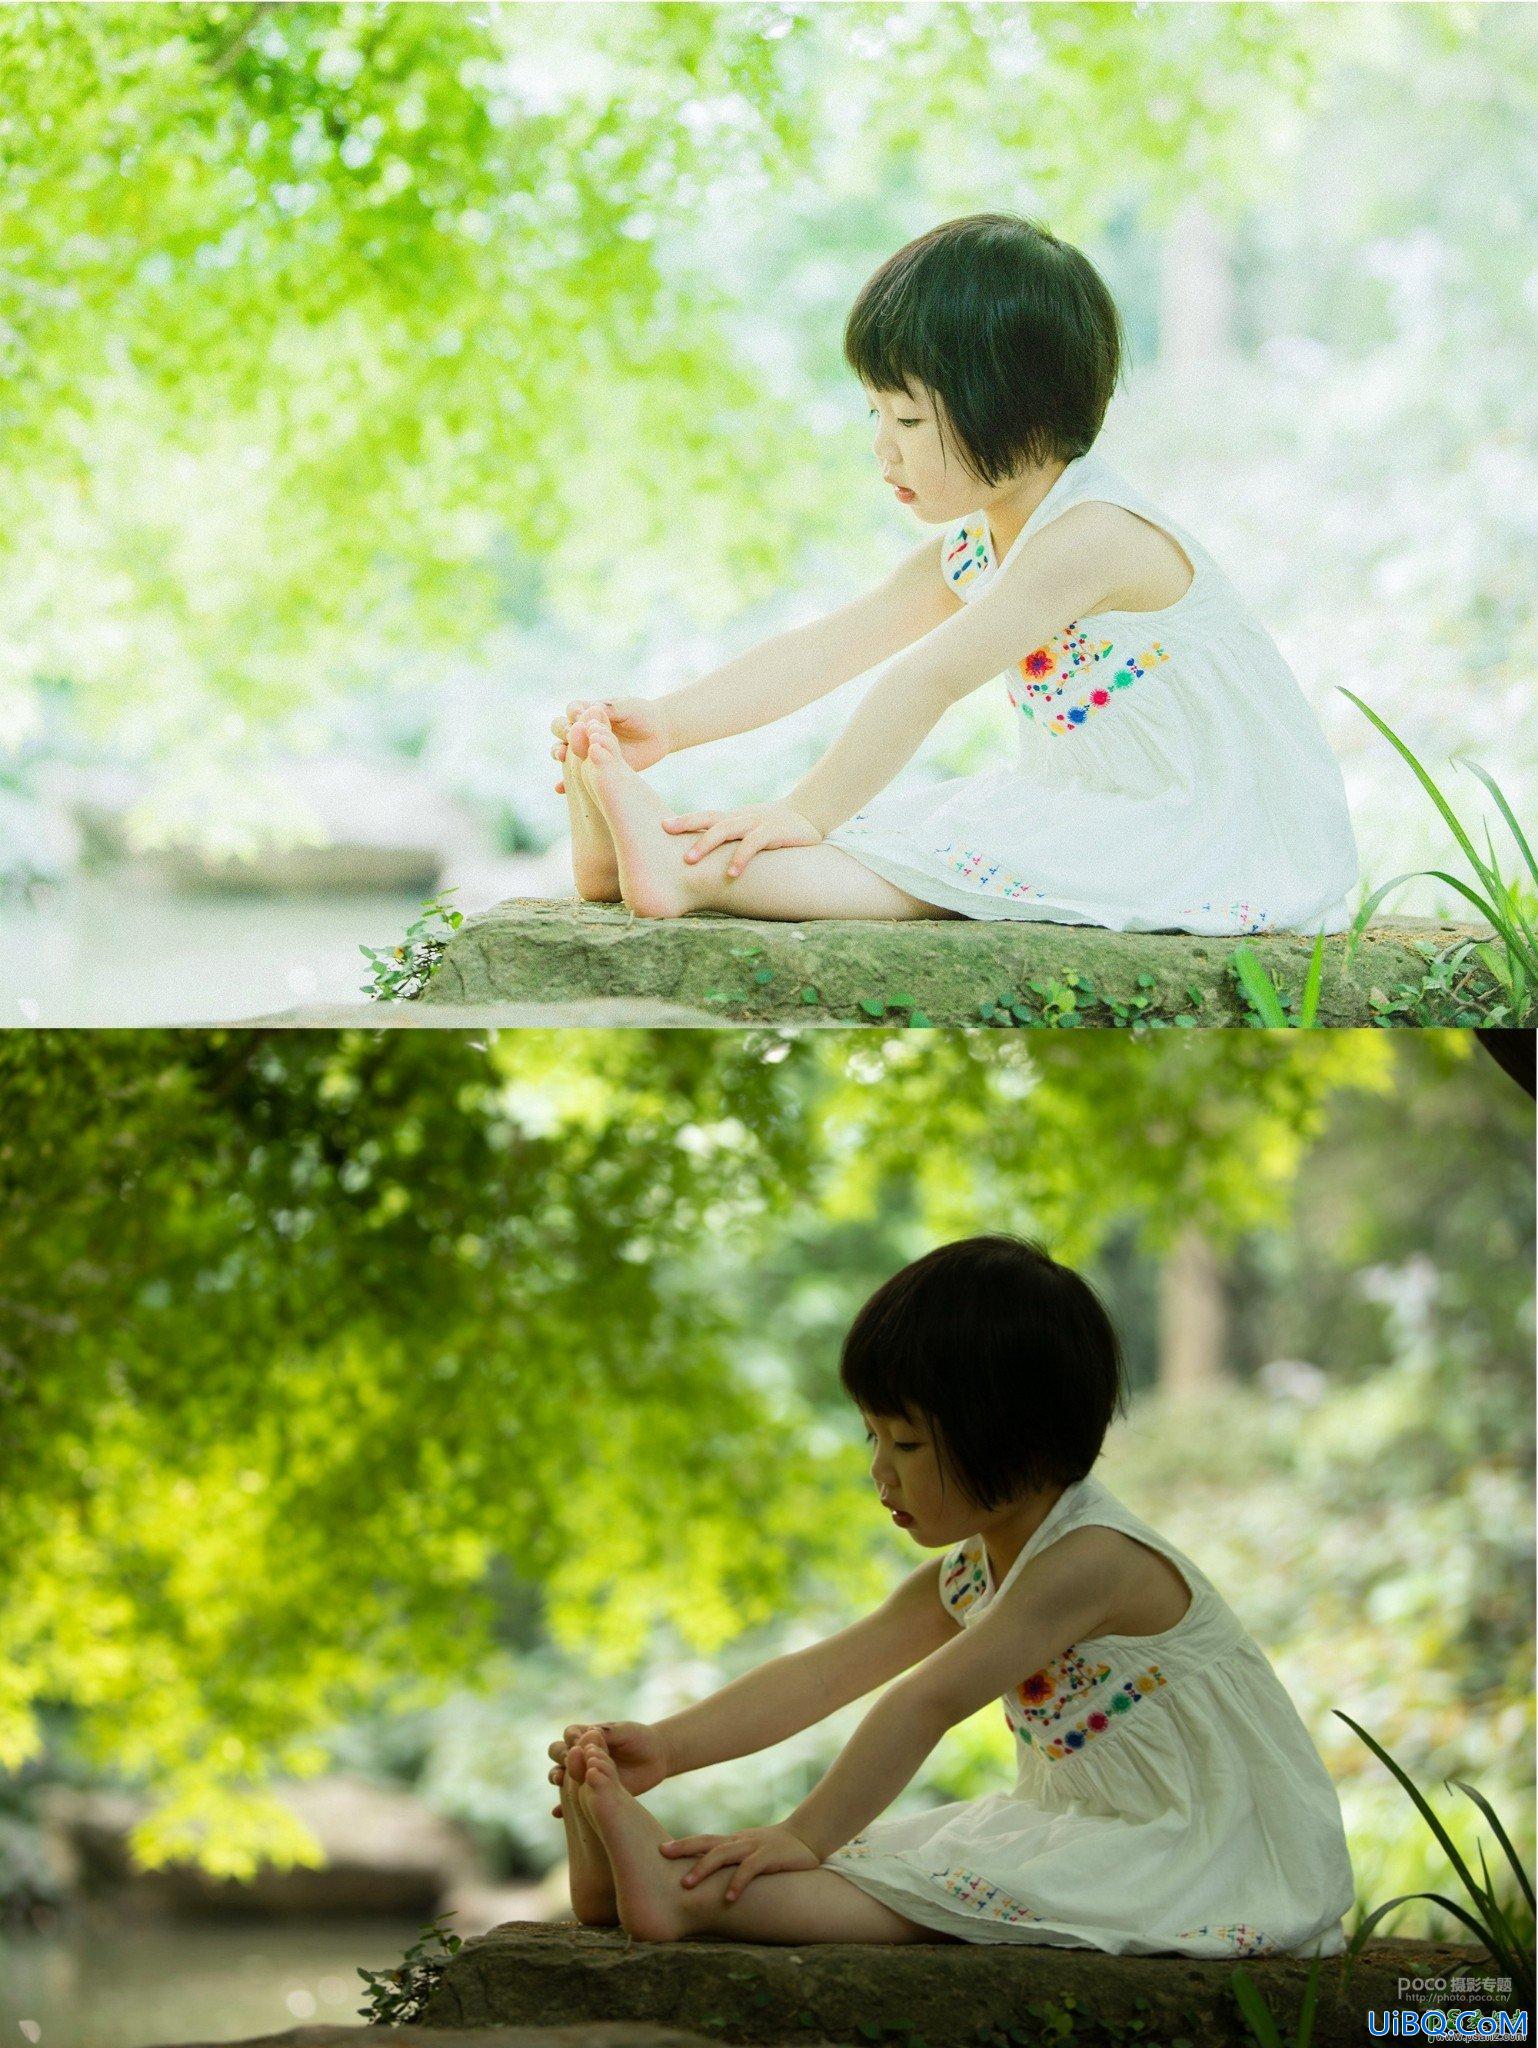
本篇教程通过PS制作一种人物画中画的效果,这类效果有一种无限循环的感觉,如果学会出来的效果会特别棒,教程比较简单,大家可以通过教程来制作一下,素材可以照自己喜欢的,相框或者人物照片都可以拿自己

人物图层复制出来一层,将铁轨突出的部分使用钢笔工具选择路径抠出来,建立选区之后创建蒙版

使用画笔工具,将石头的边缘部分进行精细的处理

调色部分
使用可选颜色调整图层,创建剪贴蒙版,对树的部分进行调整,选择黄色绿色,将树木部分调整的偏青偏蓝一些


将瑕疵的部分使用蒙版与画笔擦一下

将所有相框2里面的内容进行打组,整体进行调色
可选颜色-创建剪贴蒙版-白色,对铁轨的亮部区域进行调整

曲线调整图层-创建剪贴蒙版-亮部压暗

色相饱和度调整图层-创建剪贴蒙版-增加饱和度

石头部分太亮,Ctrl+Shift+N创建图层的命令,创建一个柔光中性灰图层

使用加深工具-剪贴蒙版-对石头的部分进行加深处理

新建一个图层创建投影,使用画笔工具选择一个阴影处的颜色,正片叠底,降低一些不透明度

在相框1与相框2之间增加纵深效果
新建图层-使用画笔吸取阴影处的颜色-正片叠底-剪贴蒙版

对地板部分进行处理
Ctrl+Shift+N创建柔光中性灰图层-加深工具,对地板部分的白色区域进行加深处理

加深之后地板有掉色的问题
可以新建一个图层-颜色-吸取地板的颜色使用画笔在掉色的区域进行涂抹

整体调色,往清冷的蓝色调去走
曲线调整图层


可选颜色-白色

色彩平衡-中间调,高光

裁剪工具裁剪成16:9

Ctrl+shift+alt+e盖印所有图层-转为
智能对象
Camera Raw进行调整

滤镜菜单-其他-高反差保留进行锐化,数值自己设定(0.5)

将高反差保留的混合模式修改为线性光

完成:

www.16xx8.com
只要素材准备的切合,后期的效果就会很出彩,把自己喜欢的照片制作一下吧。


 加载中,请稍侯......
精彩评论