作者:Sener 出处:
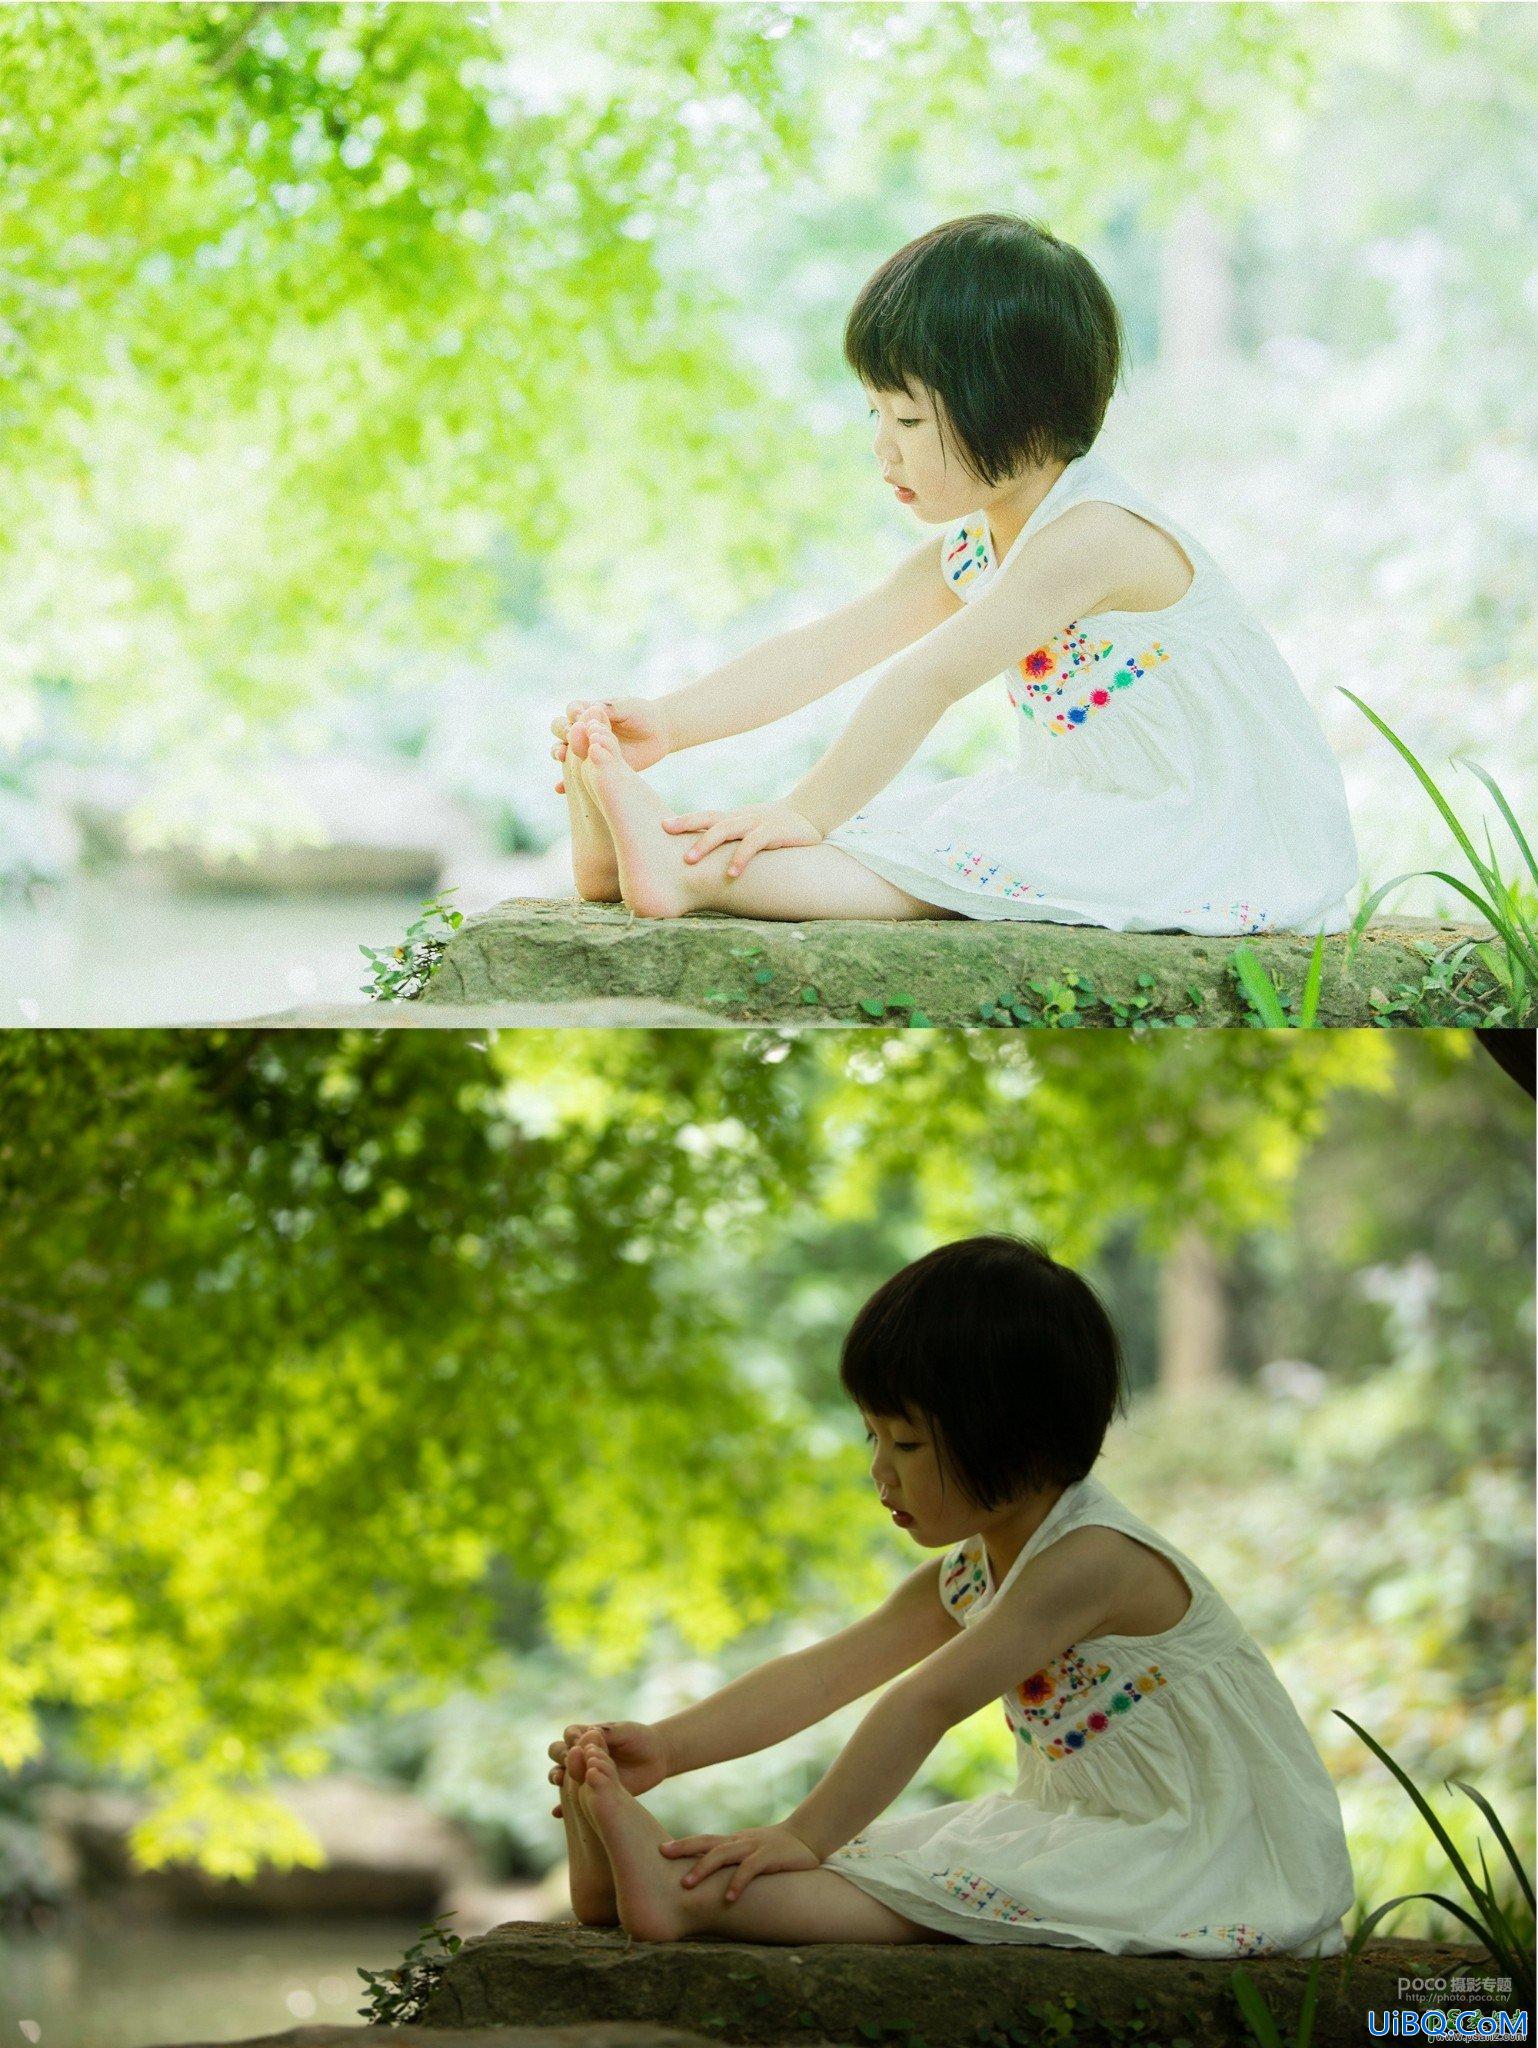
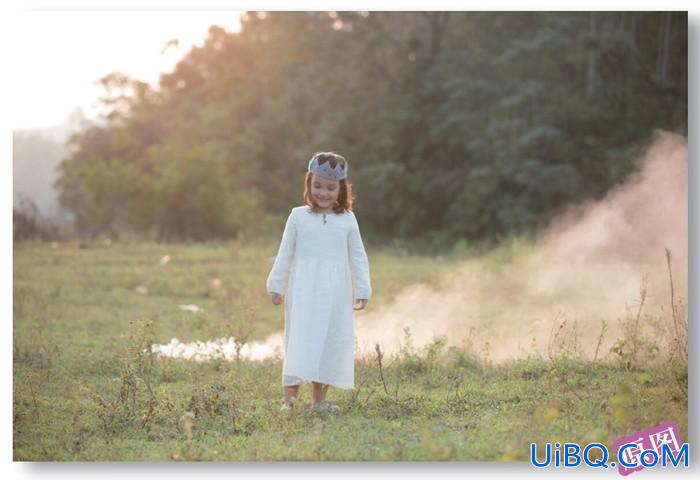
原图素材人物皮肤及衣服部分颜色与背景部分有点冲突,色调不太融合。处理的时候需要稍微修正一下色调,把衣服部分换色,皮肤部分调成淡红或粉色即可。
作者:Sener 出处:
原图素材人物皮肤及衣服部分颜色与背景部分有点冲突,色调不太融合。处理的时候需要稍微修正一下色调,把衣服部分换色,皮肤部分调成淡红或粉色即可。
原图
<点小图查看大图>
最终效果
优艾设计网_PS高级教程实例

<点小图查看大图>
1、打开原图素材,发现人物的衣服部分颜色有点刺眼,需要换一个颜色。创建可选颜色调整图层,参数设置如图1 - 4,效果如图5。

<图1>

<图2>

<图3>

<图4>

<图5>
2、如果觉得衣服色彩还不好看的话把当前的可选颜色图层复制一层,图层不透明度改为:50%,如下图。

<图6>
3、创建色彩平衡调整图层,对暗调及中间调进行调整,参数设置如图7,8,效果如图9。

<图7>

<图8>

<图9>
4、创建可选颜色调整图层,对红色进行调整,参数设置如图10,效果如图11。

<图10>

<图11>
5、创建曲线调整图层,对红,绿,蓝进行调整,参数设置如图12 - 14,效果如图15。

<图12>

<图13>

<图14>

<图15>
6、创建通道混合器调整图层,对蓝色进行调整,参数设置如图16,效果如图17。

<图16>

<图17>
7、创建可选颜色调整图层,对红色进行调整,参数设置如图18,效果如图19。

<图18>

<图19>
8、创建色相/饱和度调整图层,适当降低全图的饱和度,参数设置如图20,效果如图21。

<图20>

<图21>
9、新建一个图层,按Ctrl + Alt + Shift + E 盖印图层,图层混合模式改为“滤色”,图层不透明度改为:15%,效果如下图。

<图22>
10、新建一个图层,填充颜色:#462054,图层混合模式改为“滤色”,图层不透明度改为:10%,效果如下图。

<图23>
11、创建亮度/对比度调整图层,参数设置如图24,效果如图25。

<图24>

<图25>
12、最后调整下整体颜色,完成最终效果。
<点小图查看大图>


 加载中,请稍侯......
精彩评论